If you’ve never built a pool before, the timeline can feel like a black box. Homeowners hear “a few months,” but don’t always know what happens week to week—or why certain stages can’t be rushed. A well-managed pool build in San Diego follows a predictable sequence: design, engineering, permitting, excavation, structural work, shell, finishes, and startup. This article walks you through each phase so you can plan realistically and understand what’s happening in your yard.
Keep in mind that permitting speed and project scope are the biggest variables. A simple pool with standard materials may move faster, while a full backyard transformation naturally takes longer.
Phase 1: Design and Pre-Construction Planning
This phase is where you choose the layout, steps, seating, depth, and features like a Baja shelf, lighting, or water features. You’ll also talk through how you want to use the space—family play, entertaining, fitness, or relaxation.
Working with a team that specializes in custom pool design helps ensure the pool fits your property and lifestyle before construction begins. Typical timeframe: 1–3 weeks.
Phase 2: Engineering and Permitting
Once the design is finalized, engineering plans are prepared and submitted. In California, the permitting process is essential—it ensures structural integrity, code-compliant electrical and plumbing, and safety requirements.
A qualified San Diego inground pool contractor typically manages city communication and inspection scheduling. Typical timeframe: 2–6 weeks, sometimes longer depending on jurisdiction.
Phase 3: Excavation and Layout
After permits are approved, crews mark the pool outline and begin excavation. Soil type, slope, rock, and access all affect how quickly this phase goes. Most excavations take 1–3 days, but challenging sites can require additional staging or hauling coordination.
Phase 4: Steel, Plumbing, and Electrical Rough-In
Rebar is installed to form the pool’s structural skeleton. Plumbing lines for circulation and any water features are run, and electrical conduits for lighting and equipment are installed. Inspections often occur here to verify compliance before the shell is applied. Typical timeframe: 1–2 weeks.
Phase 5: Shotcrete/Gunite Shell and Curing
Shotcrete (or gunite) forms the permanent shell. This is a major milestone: the pool becomes a concrete structure. Curing time is critical and should not be rushed—it directly impacts long-term strength and durability. Typical timeframe: 1 day for application plus 1–4 weeks of curing depending on schedule and conditions.
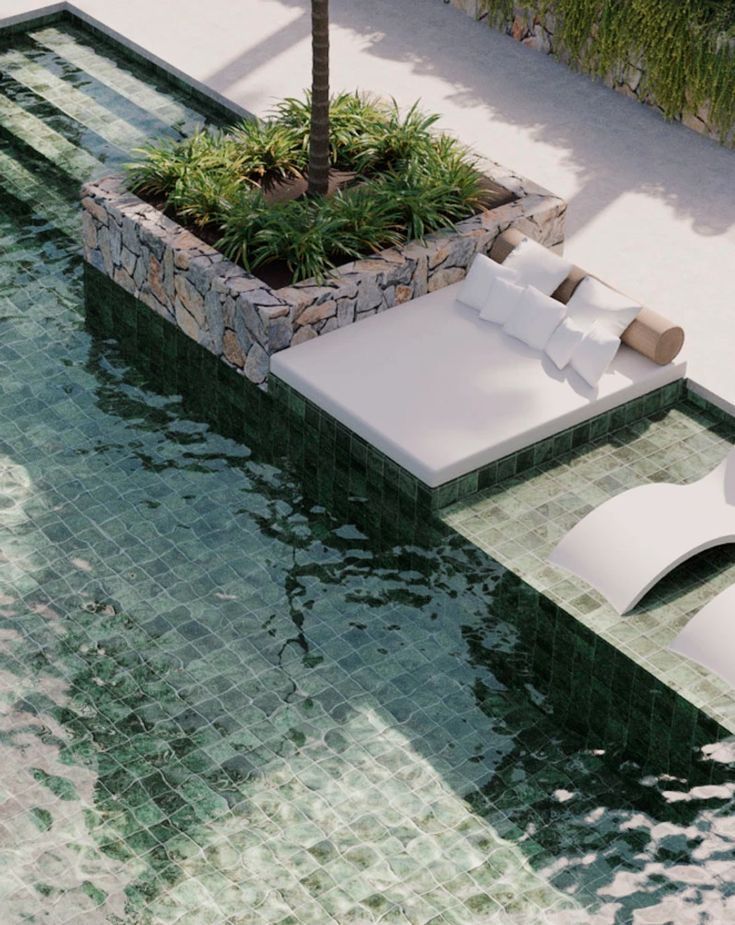
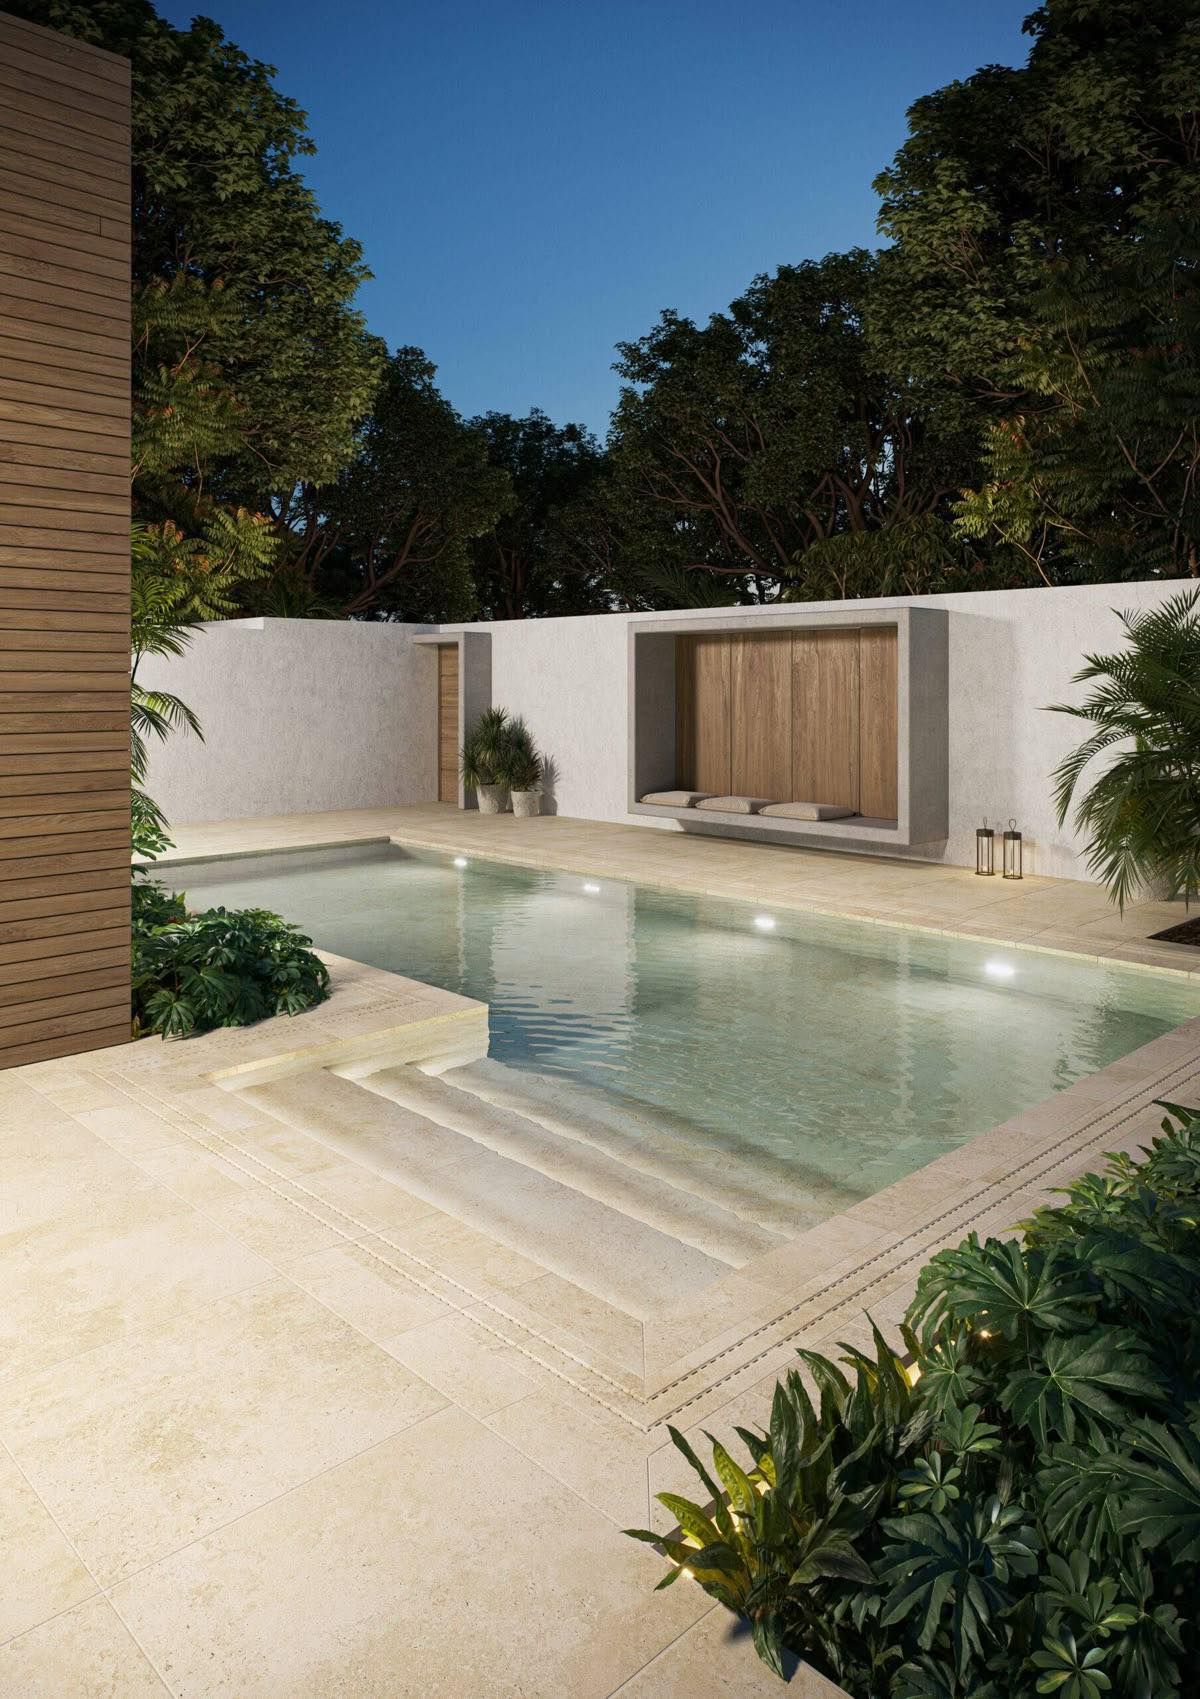
Phase 6: Tile, Coping, Decking, and Site Finishes
Once the shell is cured, tile and coping define the edge details, and decking creates the usable footprint around the pool. Many homeowners coordinate this stage with a broader outdoor living plan—patios, seating, lighting, and shade—so the backyard feels cohesive. Typical timeframe: 2–4 weeks.
Phase 7: Interior Finish, Fill, and Startup
The interior finish is applied, the pool is filled, and the equipment is started and balanced. You’ll receive an orientation on controls, filtration schedules, and basic care. Typical timeframe: 3–7 days.
What Can Extend the Schedule?
Permitting delays are the most common factor. Others include special-order materials, changes after construction begins, unexpected soil conditions, and coordination with large outdoor living scopes. The best way to protect your timeline is to finalize decisions early and work with a builder experienced in scheduling and trade coordination.
Final Thoughts
Most San Diego pool projects land in a 3–6 month window from design to completion. A clear timeline and proactive communication make the process feel manageable—and result in a pool built correctly for long-term enjoyment.